Create a Project
Objective: Gain an understanding of how to create an Assessment Project
Creating an Assessment Project is the first step in carrying out an Assessment Task. A project can include carrying out a number of different assessments on multiple assets or a single assessment on an asset. For example, a project can be created as '2016 Building Assessment' which would aim to assess the condition of all the buildings in an organisation's asset portfolio. It could consist of a number of different types of assessments; Roof & structure condition assessment, Services assessment, and Interior condition assessment. Each of these assessments might employ a different methodology in the assessment process. Therefore, a project can support a number of different forms to carry out different types of assessments.
This article outlines the following processes:
Create a New Project
-
Add Forms to a Project
-
Edit A Project
-
Delete Projects
-
Complete Projects
Projects are managed in the Assessments module by assessment managers and administrators.
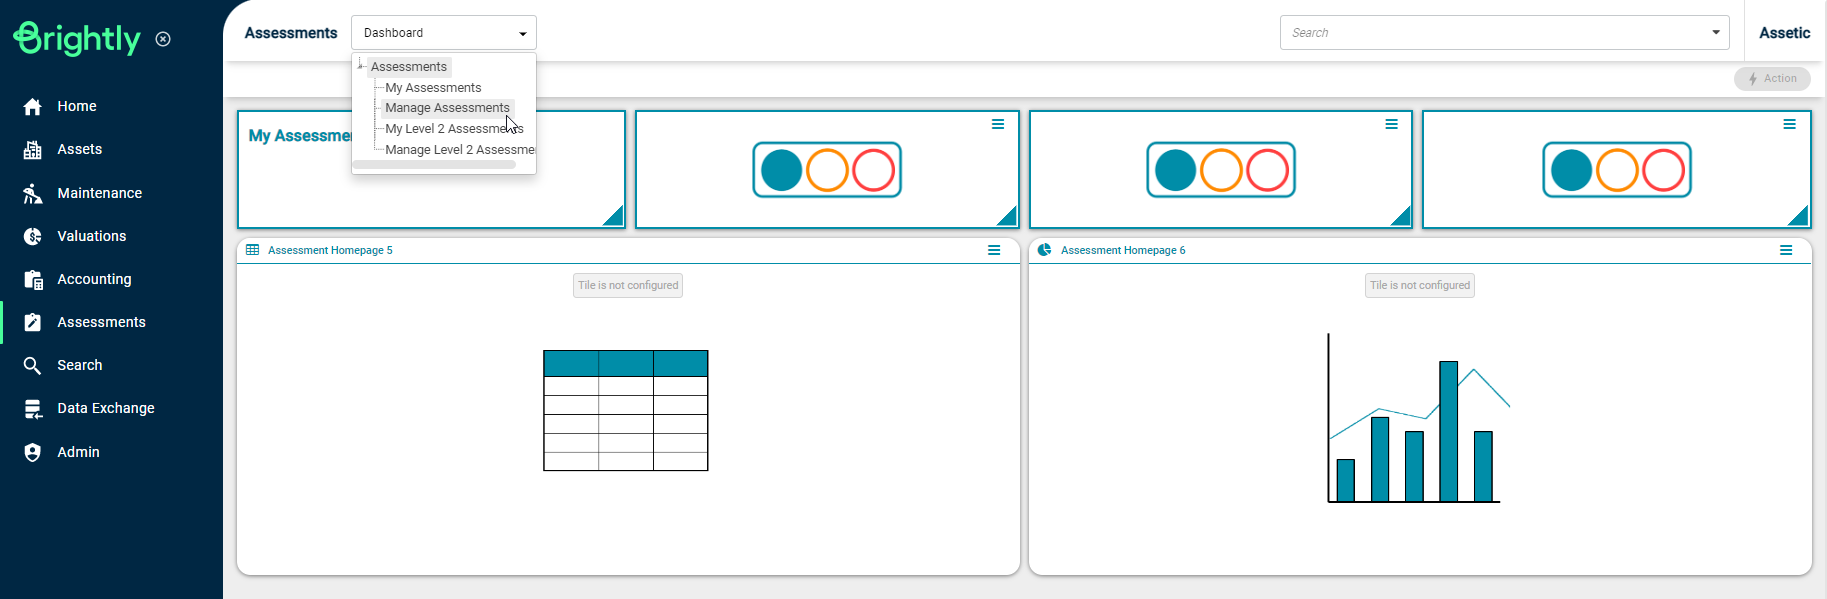
To manage projects select 'Assessments' from the Navigation Sidebar and 'Manage Assessments' from the Navigation Dropdown:
This will take the user to the following screen:
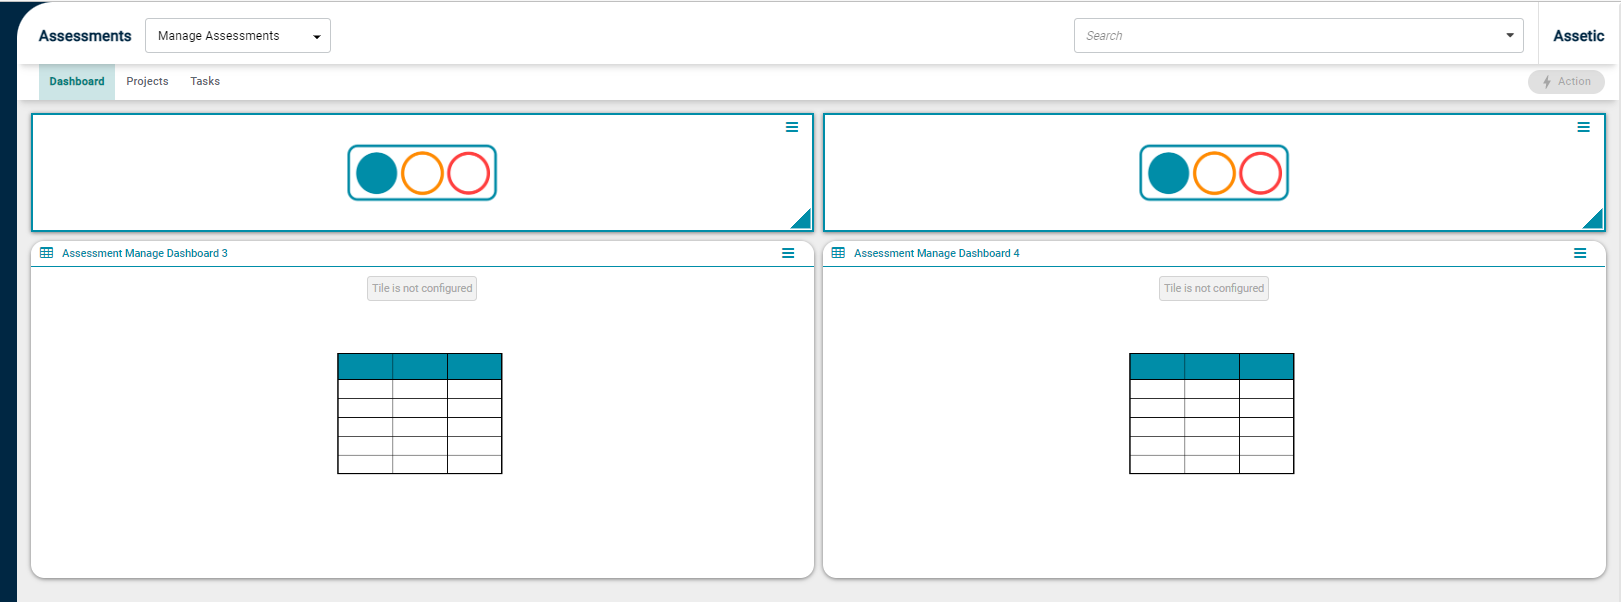
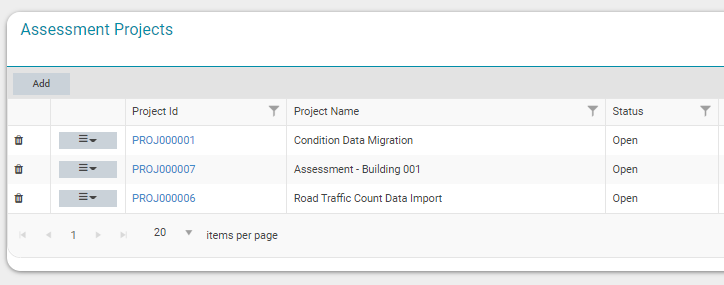
Click 'Projects' from the top left to load the list of projects.
By default, this page shows all outstanding projects in the system.
The process of Creating, Editing and Deleting projects is carried out in this area.
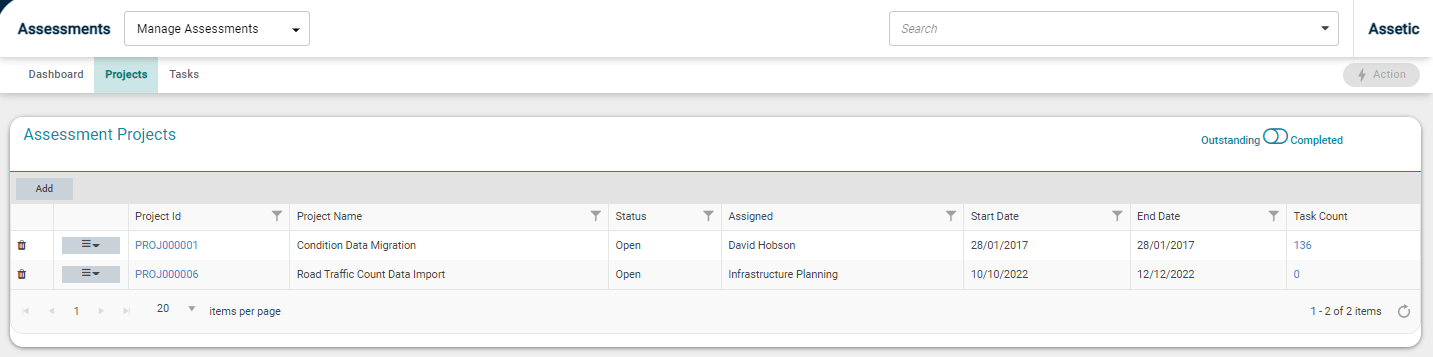
The column on the far right, 'Task count,' shows the number of assessment tasks currently associated with each project.
Create A New Project
To add a new project click 'Add' button on the top left-hand side and a pop-up screen will appear.
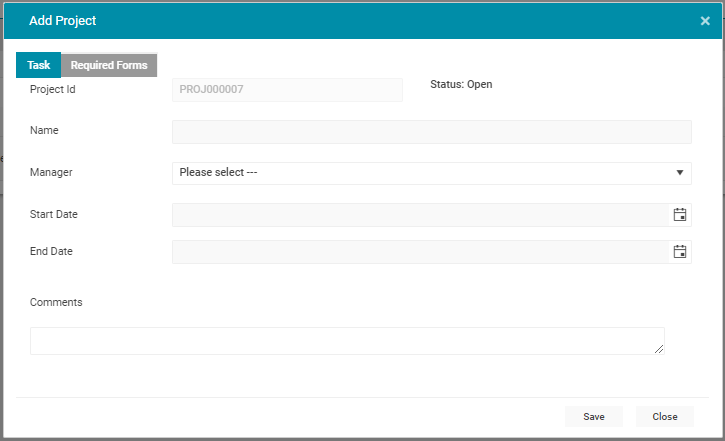
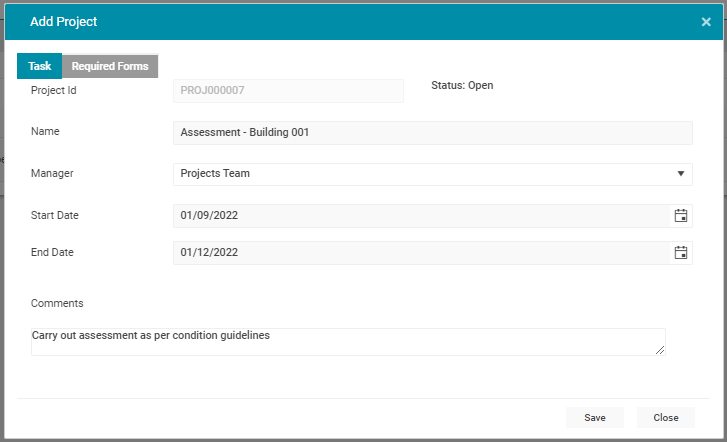
Fill in all of the below information.
-
Project Id: Project Id is system populated
-
Name: Provide an appropriate name for the project
-
Manager: Project Manager should be selected from the drop-down. The drop-down should be pre-populated by a Client Admin in Admin > Resource Management
-
Start date and End date: Populate project scheduled start date and end date manually or using the date selector
-
Comments: Any comments related to the project
An example populated 'Add Project' pop up screen is shown below.
Add Assessment Forms to a Project
Next, the forms used in any assessments for the project should be added.
Click the 'Required Forms' button on the top left corner of the pop-up screen.
The following screen will appear.
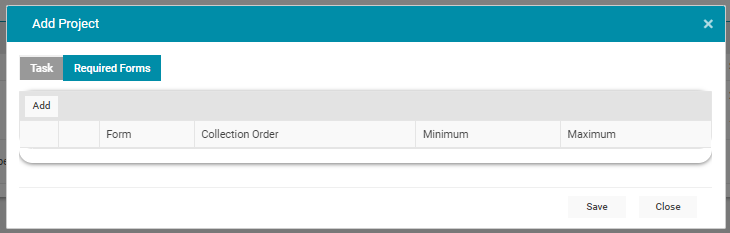
Click 'Add'.
A list of all available assessment forms in the system will appear on the screen.
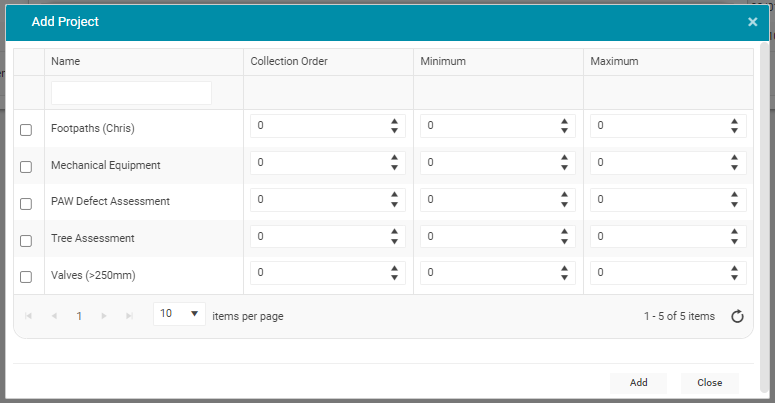
The user can add the required forms to the project by ticking the box to the left of each form. For each selected form the user needs to fill out the following columns.
-
Collection Order: If an assessment involves more than one assessment form, it can be specified in the order each assessment is carried out.
-
Minimum: This is the minimum number of times the assessor needs to fill out the form in carrying out each assessment task. For example, if the assessment is to assess the condition and defects of an asset when no defects are present.
-
Maximum: This is the maximum number of times an assessment form can be filled in. For example, in case of a condition assessment.
The following screenshot shows that the user wants the 'Mechanical Equipment' assessor to carry out a minimum of 1 assessment and up to 100 assessments, whereas for 'PAW Defect Assessment' the assessor can only carry out a maximum of 10.
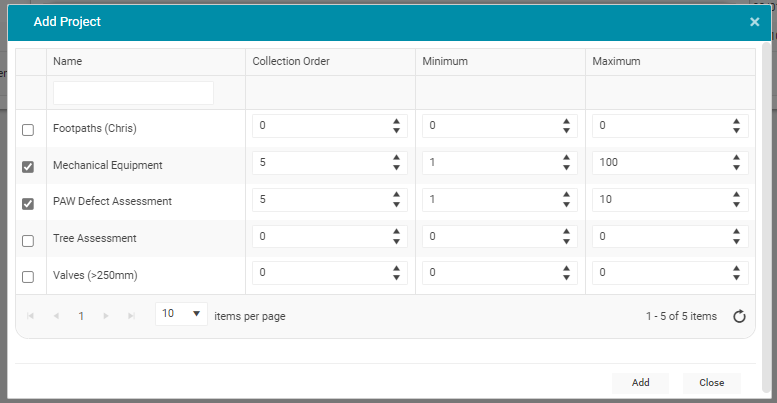
Once required the forms are added and details filled in click 'Save'.
A project called 'Assessment - Building 001' has been added to the system.
Edit A Project
Project attributes can be modified by clicking on the Project ID.
The user can modify the Project Name, Manager, Start Date, End Date, Comments, or add/edit/remove any configured Assessment Forms.
Delete A Project
A project can be deleted only if assessment tasks are not linked to that project.
To delete a project go use the delete button  available against the projects in the first column
Click the delete button.
A pop-up screen will appear with the following message.
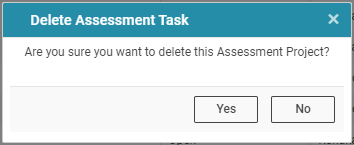
Click 'Yes'
The project will be deleted from the system.
Complete a Project
To complete an Assessment Project, select the  drop-down icon and select 'Completed'.

View Completed Projects
To view the completed projects, use the switch to toggle between 'Outstanding' and 'Completed' projects.

